Carpenter's Wheel Block Tutorial - June Block Lottery

June's Block Lottery for ECMQG is the Carpenter's Wheel.  It is a block that has been showcased by Camille Roskelly with her very popular Swoon pattern.  That block ends up being a whopping 24 1/2 inches unfinished!  Our ECMQG block will measure 12 1/2 inches, unfinished.


This tutorial is only intended to help you assemble the block for our block lottery.  

If you love the block and wish to make a quilt, I encourage you to purchase Camille's pattern, which has fabric requirements, cutting layouts, finishing information, as well as, other important directions.

While there are several steps to making this block, the block itself is not difficult.  

Squares, rectangles, half square triangles (HSTs) and Flying Geese are the simple geometric shapes needed. 

Because online tutorials are abundant for making both HSTs and Flying Geese, I'll leave the method for making those shapes up to you.  If you need help, feel free to email me at wendi mihalik at yahoo.  Also, if you notice an error, or these instructions don't make sense, or something seems incomplete, please let me know. 


Cutting Directions:

Choose either two F8s or dig into your scrap bins for a scrappy block.  You will also need background fabric, which for us, is white.  

Note:  I made a new block for the June block lottery and for this tutorial.  Accordingly, I've changed the color references from those described in my original June 2012 blog post, and referred to in the previous ECMQG block lottery announcement.  The photo above, for this tutorial, is for color reference. 

Also note the center square and the points of the stars are Color 2 in the cutting directions below (I emphasize this because it always confuses me that the center color is not Color 1). 

You will need:

Color 1 (Pink)
(8) 3-1/2" x 2" rectangles 
(8) 2-1/2" squares 

Color 2 (Aqua)
(1) 3-1/2" square
(12) 2" squares 
(6) 2-1/2" squares 

Background (White)
(12) 2" squares 
(6) 2-1/2" squares
(8) 3-1/2" x 2" rectangles 


Half Square Triangles


There are many tutorials on making half square triangles.  I generally use the tape method as shown above.


Chain piecing will make this process go much faster.

Set 1:  Take 4 white 2 1/2" squares and 4 Color 1 2-1/2" squares to make 8 HSTs.


Set 2:  Take 2 white 2-1/2" squares and 2 Color 2 2-1/2" squares to make 4 HSTs


Set 3:  Take 4 Color 1 2-1/2" squares and 4 Color 2 2-1/2" squares to make 8 HSTs.


Press seams to the darker fabric.


Square your HSTs by aligning the diagonal line of your ruler along the seam line.  Remove excess fabric, including the dog ears.
 
Set aside.

Flying Geese:

Choose your preferred method for making flying geese units.  You may draw a line from corner to corner on the 2" square, or use the tape method by aligning painter's tape in the center of your sewing surface along the path of the needle, lining up the square from corner to corner along the tape line, and stitching along the path made by the tape.

Chain piecing will make this process go much faster.


 Set 1:  Take a white 3-1/2" x 2" rectangle and place a Color 1 2" square in one corner.  Sew from the center of the 2" square to the corner of the outside edge. 


Cut off the excess fabric from the corner and press the seam to the dark side. 

Place another 2" square on the opposite side and sew on the diagonal from the outer corner to the center.

Cut off the excess fabric from the corner and press the seam to the dark side.


Make 4 white/color 2 flying geese.


Set 2:  Take a Color 2 3-1/2" x 2" rectangle and place a white  2" square in one corner.  Sew from the center of the 2" square to the corner of the outside edge. 

Cut off the excess fabric from the corner and press the seam to the dark side.

Place another 2" square on the opposite corner and sew on the diagonal from the outer corner to the center.  

Cut off the excess fabric from the corner and press the seam to the dark side.

Make 4 Color 1/White Flying Geese.

Set aside.

Assembling the Corner Units:


Arrange your HSTs, 2" squares, and 3-1/2" x 2" rectangle as shown above.  (Notice how all the Color 2 pieces are in the center of the block, forming the point of the star.)  Notice that each of the elements of this unit are stacked in the photo above.  I found it helpful to chain piece each step of all four of the units at the same time before going on to the next step, thus creating all four corner units simultaneously.


Step 1:  Sew the Color 2 2" square to the white 2" square (in the center of the photo above.  Press the seam toward the Color 2 square.
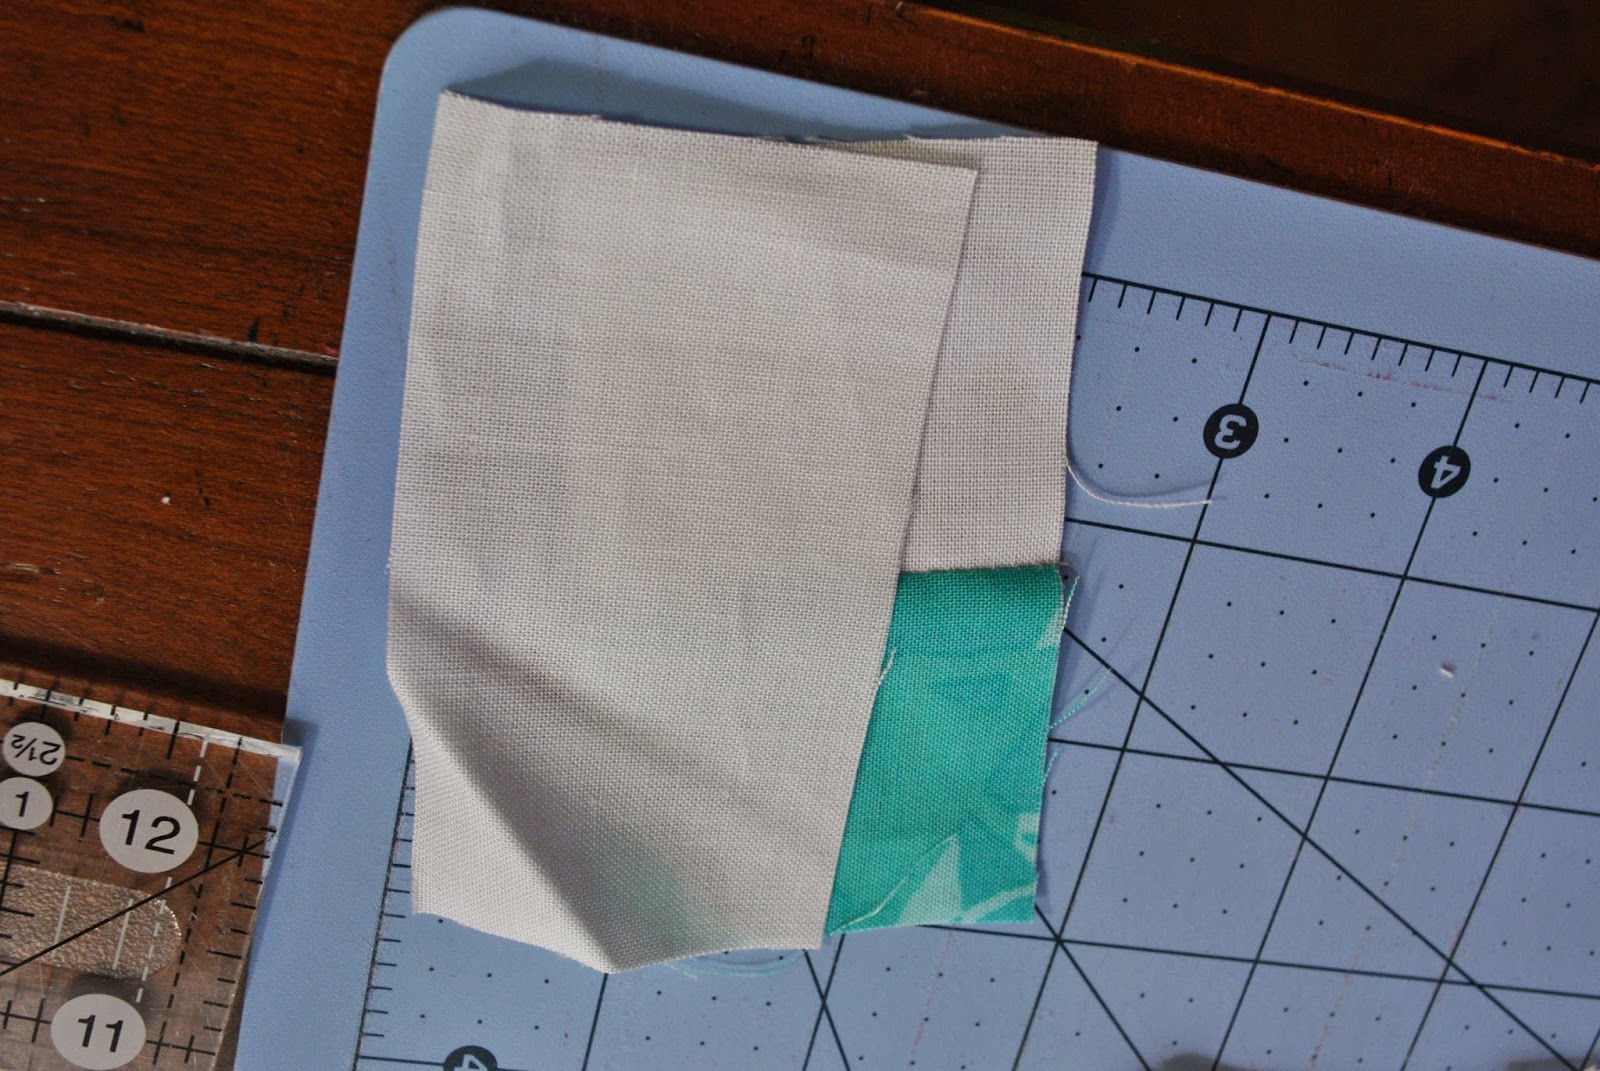

Step 2:  Sew the 3-1/2 x 2" white rectangle to the unit you made in step 1.  Press the seam toward the rectangle.

Step 3:  Sew the Color 1/White HST to the Color1/Color 2 HST


making sure the two Color 1 corners are aligned as shown.  Press the seam toward the Color 1/White HST.


Step 4:  Sew the two HST unit to the rectangle/square unit.  Press the seam toward the Color 1/White HST.


Set aside.


Step 5:  Sew the row of three HSTs together.


 Press both seams toward the Color1/White HST.


Step 6:  Sew the rectangle unit to the 3-HST unit.  Press the seam toward the HST unit.

Set aside.

Assembling the Flying Geese Strips:


 Step 1:  Lay your two flying geese units and your Color 1 3-1/2" x 2" rectangle as shown above.


Step 2:   Sew the three pieces together, making certain that the points of the flying geese point to the outside of the unit.  Press the seams toward the rectangle.

Assembling the Center Strip:

Sew a flying geese unit to each side of the center square, making sure that the Color 2 "points" are facing the Color 2 square.  Press the seam toward the square.

Assembling the Top and Bottom Sections:

Sew a Corner Unit to each side of the two remaining Flying Geese units, making sure that the Color 2 square points away from the Flying Geese unit.  Press the seam toward the Corner Units.

Finishing Your Block:


Stitch the Top and Bottom pieces to the Center Strip as shown.  Press the seams toward the top and bottom.

Enjoy your beautiful Carpenter's Wheel Block!

June 2014 - Block Lottery Carpenter's Wheel


Welcome to the ECMQG June 2014 Block Lottery!

If you are new to the group, or our blog, you can read the general Block Lottery information here, as well as see previous blocks (with instructions or tutorials) and past winners.  As always, please read through the entire instructions before cutting and sewing.

The rules are simple:

  • The Lottery is open to all ECMQG members in good standing.
  • Please use only quilt shop quality fabric (no Hobby Lobby or JoAnn's fabric with the exception of designer lines. 
  • The aesthetic is ALWAYS MODERN.  Please, avoid batiks, Civil War reproduction prints, and traditional fabrics.    
  • Take your time and effort to construct your block well, and use 1/4" seam allowances (unless the tutorial states otherwise). 
  • Blocks should be the correct size, within about a quarter of an inch.
  • Each block + $1 is one entry in the drawing.You may submit as many entries as you would like.
  • Please label your block with you name, either within the seam allowance on the back or an address label stuck to the back. The winner would love to know who made their lovely blocks.
  • Past winners can still contribute, but please understand until we see a finished quilt from your win, allow someone else the thrill of winning.
  • If you have any questions please contact me - Kira - or comment below.


For the June meeting we are making a version of the Carpenters Wheel (aka 'Swoon' or 'Dutch Rose').  Usually the Carpenter's Wheel is made with all half square triangles (HST), but by changing some of the design elements, you create a slightly different version with a few short cuts too.


Here is the HST version.


This version uses fewer HSTs; adds in rectangles, squares, and flying geese units.

Made this way, it is a faster block to assemble.


Colors for our lottery block are..... Scrappy with white!!


Have fun with your stash by choosing any modern print fabrics for the star and focus areas, along with pure white for the background.   

This month, I have enlisted the help of Wendi (Thank you!) and her blog post on the 12" Swoon.   Please visit Wendi's blog post 'Slightly Swooning...Making a 12" Swoon Block' for complete cutting dimensions and instructions.

Sewing instructions can be found here.

Meanwhile, check out these lovely quilts and blocks for inspiration.


This is from Sarah at Three little lid kids.

This block comes from Faith Jones of Fresh Lemon Quilts.


This color value stunner is from Tracey of TraceyJayQuilts.  


Wendi's quilt for her daughter. 


Kira 

ECMQG Block Lottery Coordinator

Announcing ECMQG's First Inter-Guild Swap!!

Nosegay Pin Cushion by ACraftyFox_Amanda/Westwood Acres Fabrics and is available free for a short time from this link
Hey ECMQG Members!  I'm so excited!!!

Just a little patchwork pin cushion

The Houston MQG has invited us to swap pin cushions with them.  This will be a make one/take one swap, so no partners will be assigned.  We will sign up here in the comments, on the post on the guild FB page, OR at the May 10 meeting (please only sign up once - also indicate if you would be willing to be an "angel" if we need more pinnies).  Everyone is invited to participate if they are a member of the guild in good standing.


Henrietta Turtle pin cushion by Heather Bailey
Bring your finished pinnie to the JULY ECMQG meeting.  (Be sure to put a label on your pinnie with your name, and city.)

We will box them up and send them off to Houston, and they will collect theirs and send them to us.

Wild Flower Pin Cushion by Anna Maria Horner for Better Homes and Gardens
Then, everyone who makes a pinnie will receive one in exchange at our AUGUST guild meeting.

This is gonna be AWESOME!


Wonky Stars Charity Quilt

We will be making a wonky star charity quilt for Fisher House, which provides "comfort homes" at Eglin AFB for the families of our wounded service men and women while they are undergoing medical treatment.  Some of you may have received fabric at our A&E field trip last Saturday.  If you didn't receive fabric then, there may be a limited number of block kits available at the May meeting.

All blocks should be returned to Susan McDuffie not later than the June 7 meeting.


Marcy Gallagher made our sample block and took pictures so we would have a tutorial.  Thanks, Marcy!

Take your gray background square which should be at least a 14" square and cut it twice vertically and twice horizontally into a wonky 9-patch.

Take the piece you intend to use for your block center and using the center of the background fabric as the pattern, cut an identical piece.

Using the small pieces of fabric, make your wonky star points.  Be sure that the fabric will entirely cover the corner of the background fabric before you sew.  Also, make sure the star points are at least 1/4-inch from the outside edge of the background so they are not cut off when the pieces are stitched together.

Marcy used her iron to mark a sewing line before she stitched to make sure the background was completely covered by the star points.

Check again.  Then stitch.

Trim off the excess star point fabric 1/4 inch from the seam.

Trim the excess from the star points to match the background fabric.  Then trim away the excess background fabric 1/4 inch from the seam.

Press your seams.  This is what it will look like from the back.

Repeat for each of the points of the star.  Then sew your 9-patch block together.  Press.


Now, square up your block to 12-1/2 inches.


Pat yourself on the back.  You've just completed one of the blocks we need to make our charity quilt.

Be sure to get your block to Susan by the June 7th Meeting!


The End of an Era

 Hello Modern Quilters! Thank you for visiting our blog. Sadly, ECMQG is no longer meeting on a regular basis. Feel free to browse the blog,...