June's Block Lottery for ECMQG is the Carpenter's Wheel. It is a block that has been showcased by Camille Roskelly with her very popular Swoon pattern. That block ends up being a whopping 24 1/2 inches unfinished! Our ECMQG block will measure 12 1/2 inches, unfinished.
This tutorial is only intended to help you assemble the block for our block lottery.
If you love the block and wish to make a quilt, I encourage you to purchase Camille's pattern, which has fabric requirements, cutting layouts, finishing information, as well as, other important directions.
While there are several steps to making this block, the block itself is not difficult.
Squares, rectangles, half square triangles (HSTs) and Flying Geese are the simple geometric shapes needed.
Because online tutorials are abundant for making both HSTs and Flying Geese, I'll leave the method for making those shapes up to you. If you need help, feel free to email me at wendi mihalik at yahoo. Also, if you notice an error, or these instructions don't make sense, or something seems incomplete, please let me know.
Cutting Directions:
Choose either two F8s or dig into your scrap bins for a scrappy block. You will also need background fabric, which for us, is white.
Note: I made a new block for the June block lottery and for this tutorial. Accordingly, I've changed the color references from those described in my original June 2012 blog post, and referred to in the previous ECMQG block lottery announcement. The photo above, for this tutorial, is for color reference.
Also note the center square and the points of the stars are Color 2 in the cutting directions below (I emphasize this because it always confuses me that the center color is not Color 1).
You will need:
Color 1 (Pink)
(8) 3-1/2" x 2" rectangles
(8) 2-1/2" squares
Color 2 (Aqua)
(1) 3-1/2" square
(12) 2" squares
(6) 2-1/2" squares
Background (White)
(12) 2" squares
(6) 2-1/2" squares
(8) 3-1/2" x 2" rectangles
Half Square Triangles
There are many tutorials on making half square triangles. I generally use the tape method as shown above.
Chain piecing will make this process go much faster.
Set 1: Take 4 white 2 1/2" squares and 4 Color 1 2-1/2" squares to make 8 HSTs.
Set 2: Take 2 white 2-1/2" squares and 2 Color 2 2-1/2" squares to make 4 HSTs
Set 3: Take 4 Color 1 2-1/2" squares and 4 Color 2 2-1/2" squares to make 8 HSTs.
Press seams to the darker fabric.
Square your HSTs by aligning the diagonal line of your ruler along the seam line. Remove excess fabric, including the dog ears.
Set aside.
Flying Geese:
Choose your preferred method for making flying geese units. You may draw a line from corner to corner on the 2" square, or use the tape method by aligning painter's tape in the center of your sewing surface along the path of the needle, lining up the square from corner to corner along the tape line, and stitching along the path made by the tape.
Chain piecing will make this process go much faster.
Set 1: Take a white 3-1/2" x 2" rectangle and place a Color 1 2" square in one corner. Sew from the center of the 2" square to the corner of the outside edge.
Cut off the excess fabric from the corner and press the seam to the dark side.
Place another 2" square on the opposite side and sew on the diagonal from the outer corner to the center.
Cut off the excess fabric from the corner and press the seam to the dark side.
Make 4 white/color 2 flying geese.
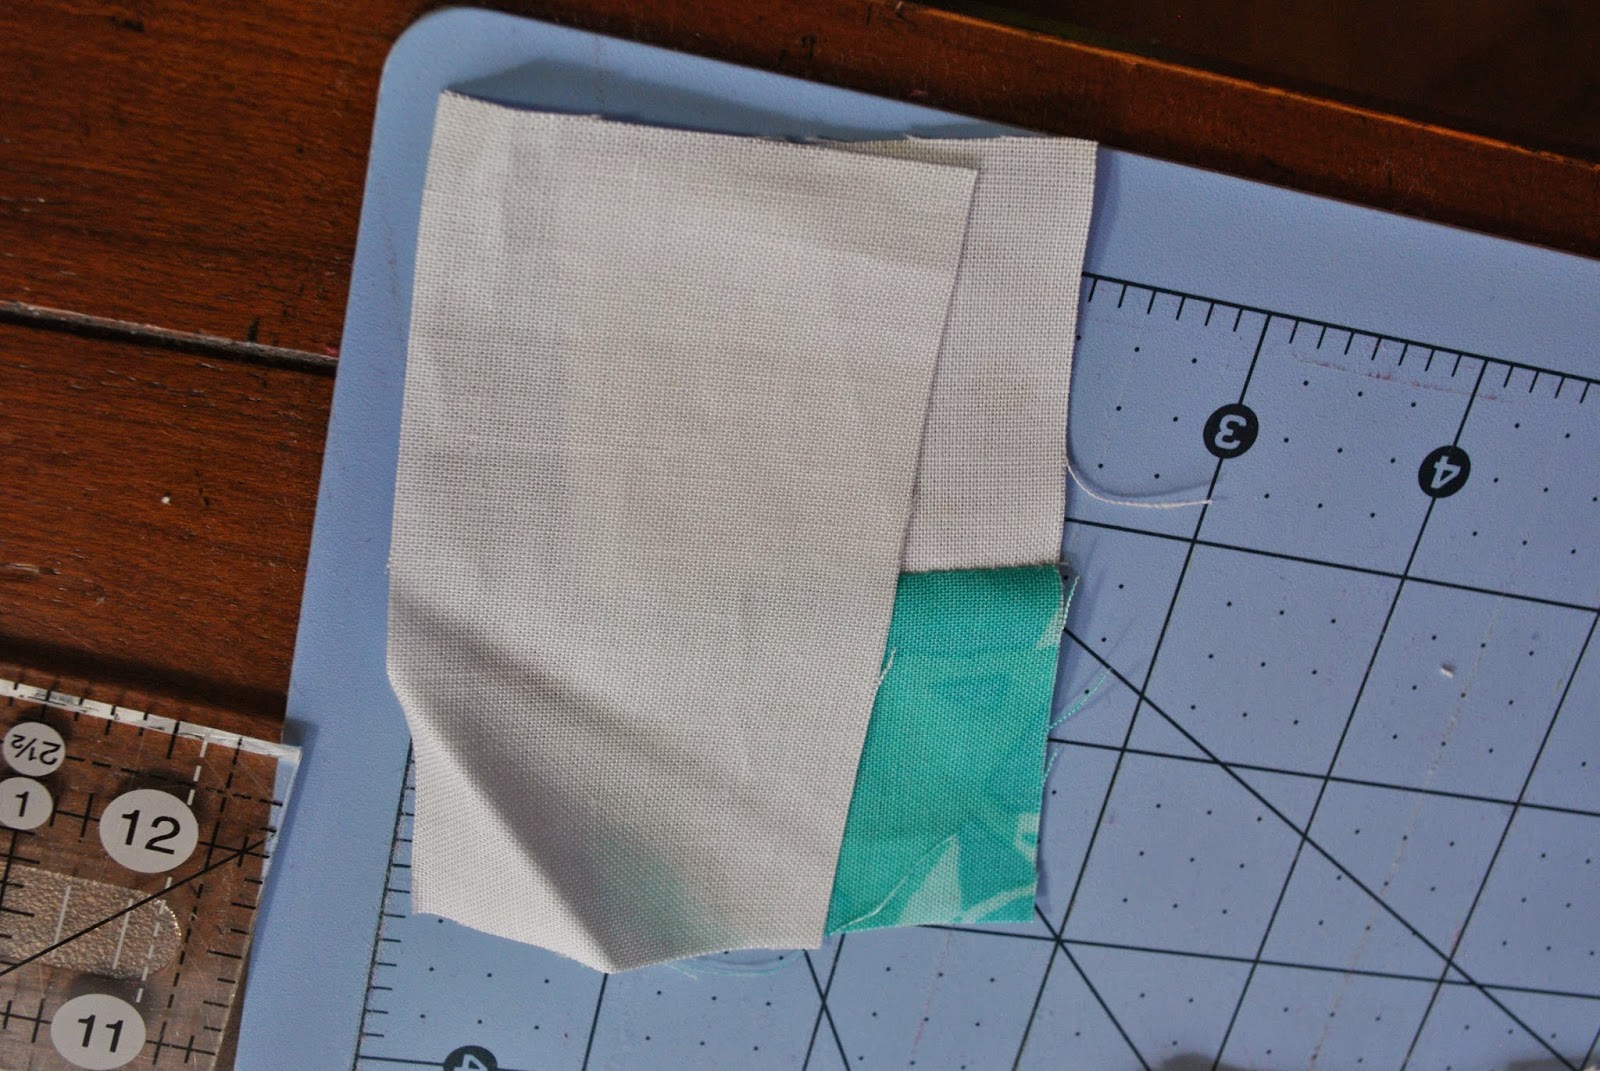
Set 2: Take a Color 2 3-1/2" x 2" rectangle and place a white 2" square in one corner. Sew from the center of the 2" square to the corner of the outside edge.
Cut off the excess fabric from the corner and press the seam to the dark side.
Cut off the excess fabric from the corner and press the seam to the dark side.
Make 4 Color 1/White Flying Geese.
Set aside.
Assembling the Corner Units:
Step 1: Sew the Color 2 2" square to the white 2" square (in the center of the photo above. Press the seam toward the Color 2 square.
Step 3: Sew the Color 1/White HST to the Color1/Color 2 HST
making sure the two Color 1 corners are aligned as shown. Press the seam toward the Color 1/White HST.
Set aside.
Step 5: Sew the row of three HSTs together.
Press both seams toward the Color1/White HST.
Step 6: Sew the rectangle unit to the 3-HST unit. Press the seam toward the HST unit.
Set aside.
Assembling the Flying Geese Strips:
Step 1: Lay your two flying geese units and your Color 1 3-1/2" x 2" rectangle as shown above.
Step 2: Sew the three pieces together, making certain that the points of the flying geese point to the outside of the unit. Press the seams toward the rectangle.
Assembling the Center Strip:
Assembling the Top and Bottom Sections:
Sew a Corner Unit to each side of the two remaining Flying Geese units, making sure that the Color 2 square points away from the Flying Geese unit. Press the seam toward the Corner Units.
Finishing Your Block:
Stitch the Top and Bottom pieces to the Center Strip as shown. Press the seams toward the top and bottom.
Enjoy your beautiful Carpenter's Wheel Block!


